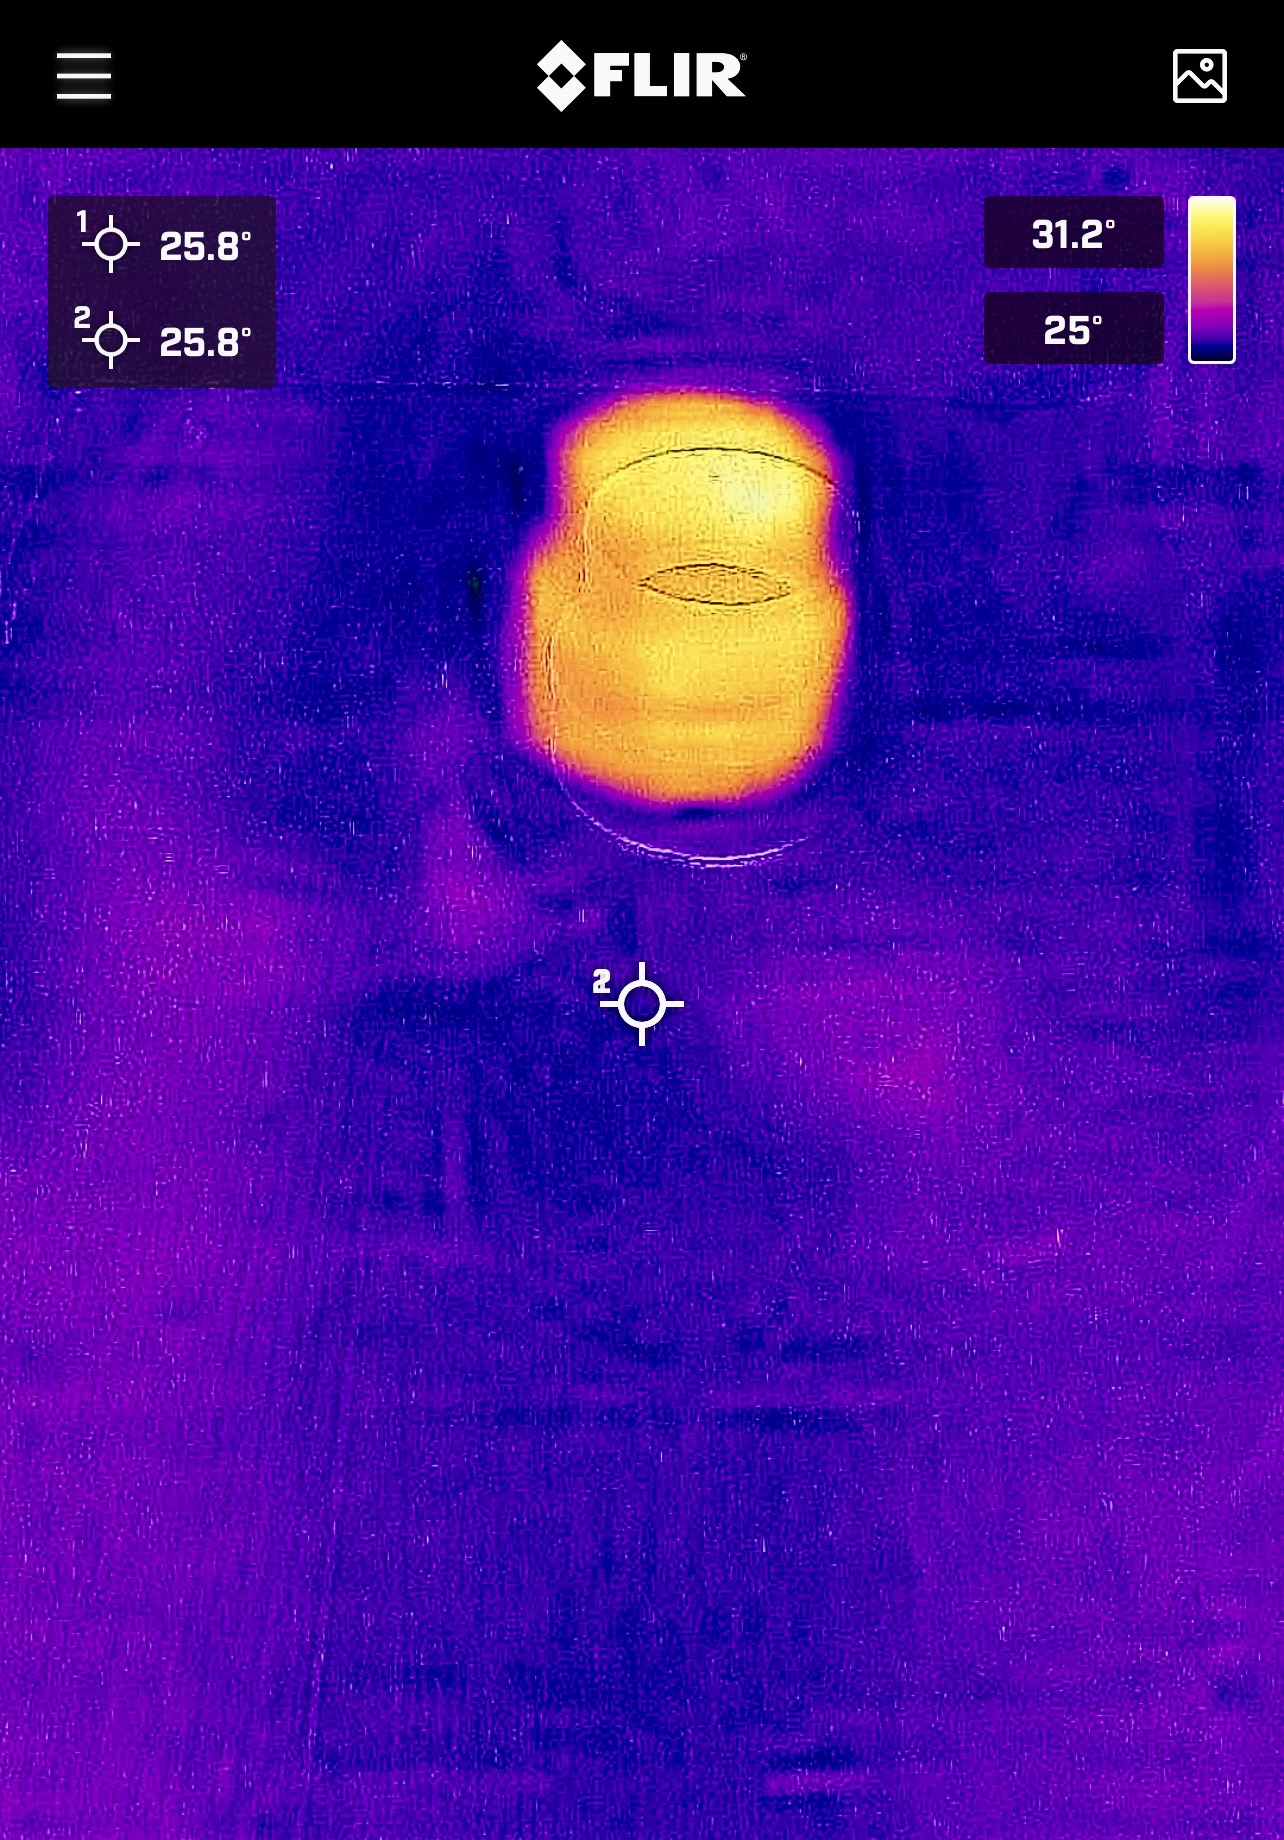
Every successful radon mitigation system begins long before installation day. For this project in Spearfish, South Dakota, careful planning and professional testing were essential because the home was built on a slab foundation with in-floor radiant heat.
Before determining the safest location for the mitigation system, we first verified the home’s radon levels using a RadStar Continuous Radon Monitor (CRM). We then used a FLIR thermal imaging camera to locate the hidden radiant heating tubes beneath the concrete slab. By gathering the right information before drilling, we were able to design a safe, effective mitigation system while protecting the homeowner’s investment.
Pre-Installation Testing with the RadStar CRM
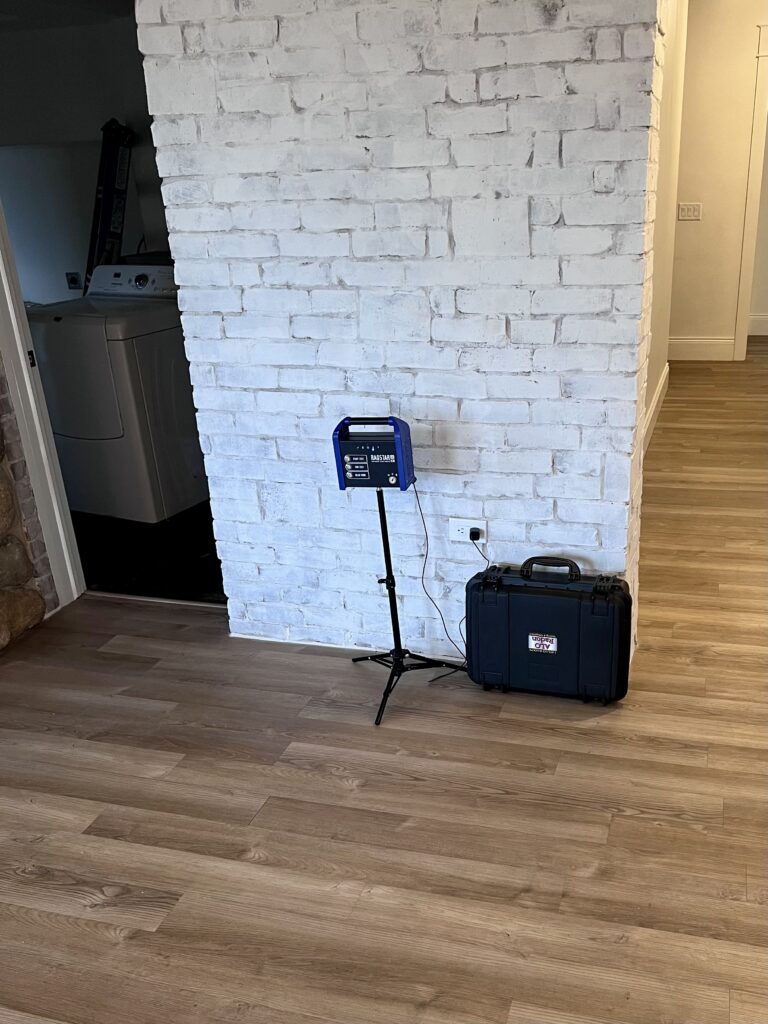
Every mitigation project begins with accurate information. Using a professional RadStar Continuous Radon Monitor, we measured the home’s radon levels before installation to establish a reliable baseline.
Professional continuous radon monitoring helps confirm when mitigation is needed and provides an accurate comparison after the system has been installed.
Locating Hidden Radiant Heat with FLIR Thermal Imaging
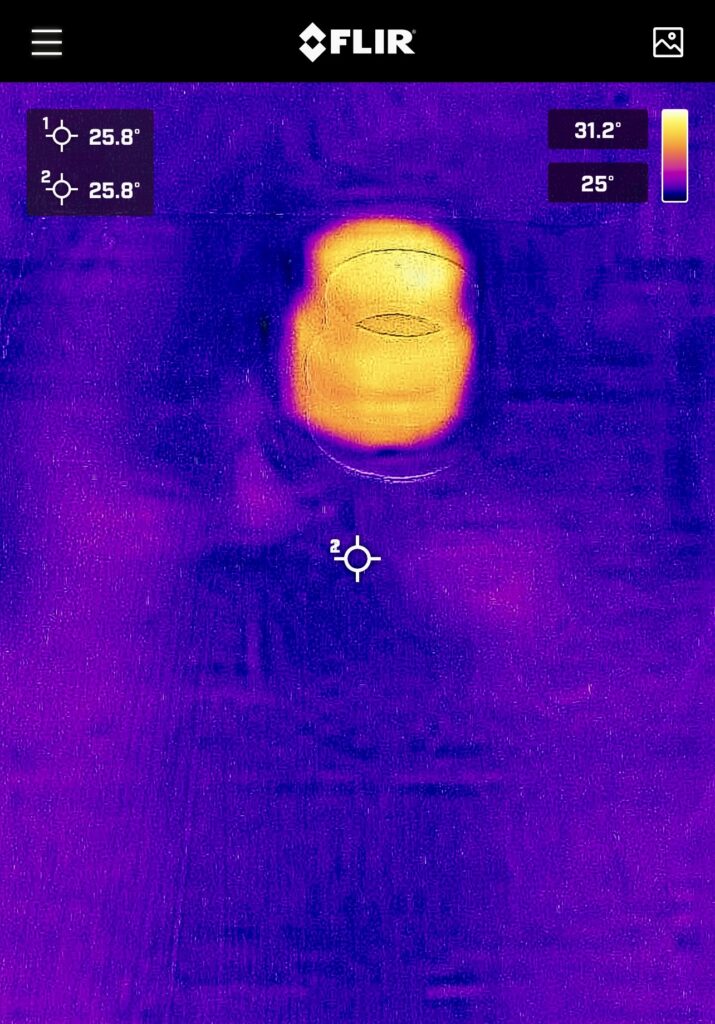
With elevated radon levels confirmed, the next challenge was safely locating the radiant heating tubes hidden beneath the concrete slab.
Using a FLIR thermal imaging camera, we were able to identify the location of the heated tubing before drilling. This allowed us to confidently select an ideal suction point while protecting the home’s radiant floor heating system.
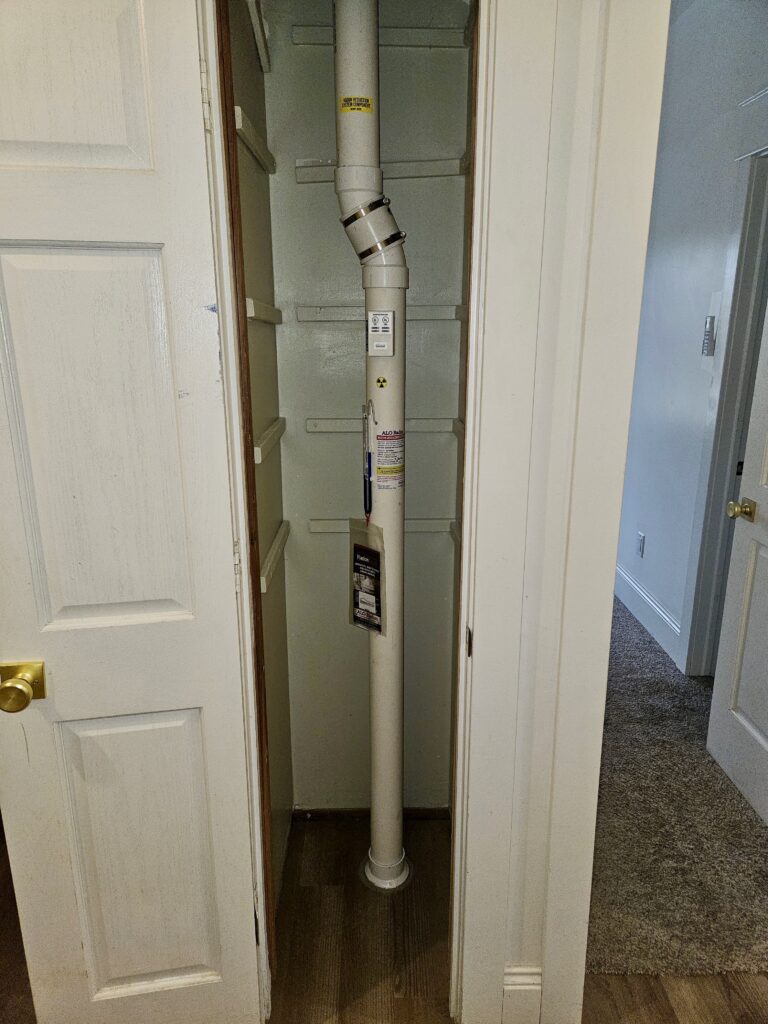
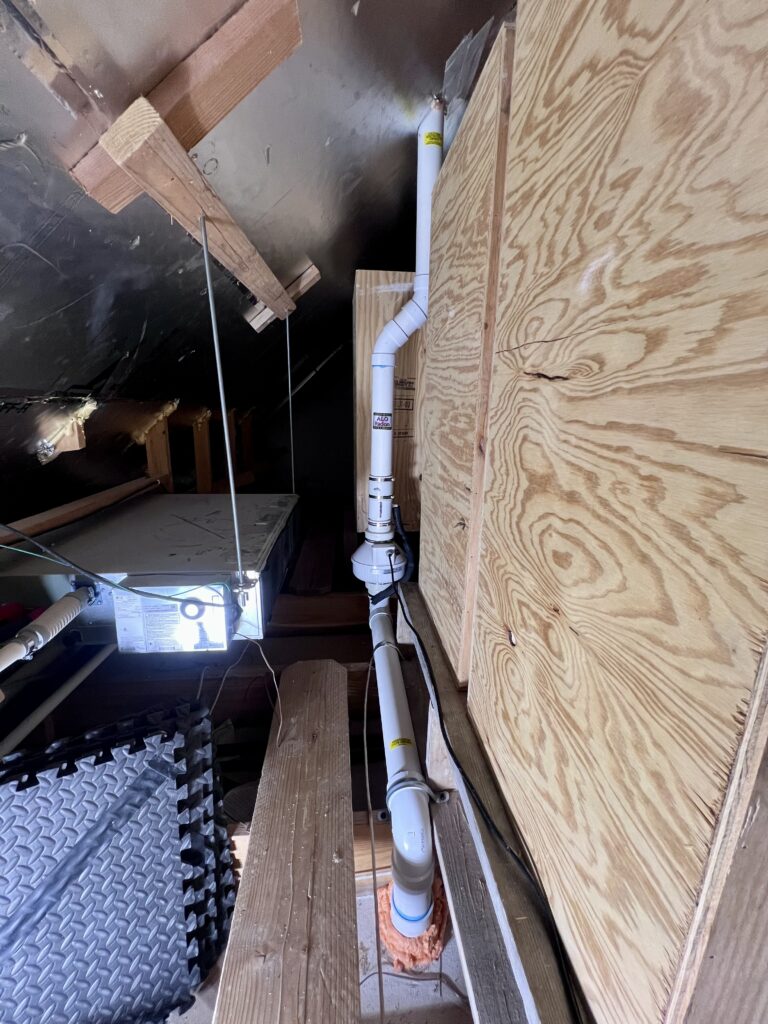
Designing a Clean Pipe Route
Project Snapshot
- 📍 Location: Spearfish, SD
- 🏠 Foundation: Slab-on-Grade
- 🌡 Challenge: In-Floor Radiant Heat
- 📷 Technology Used: FLIR Thermal Imaging
- 📊 Testing Equipment: RadStar CRM
- 🔧 System Route: Hall Closet → Upstairs Nook → Metal Roof